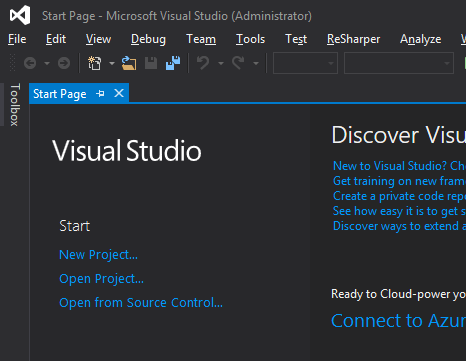
Now that you have successfully installed Visual Studio (hopefully), it’s time to create our first project. Open Visual Studio. Once it loads, you can either click on File – New – Project menu at the top, or click the “New Project” link on the start page.
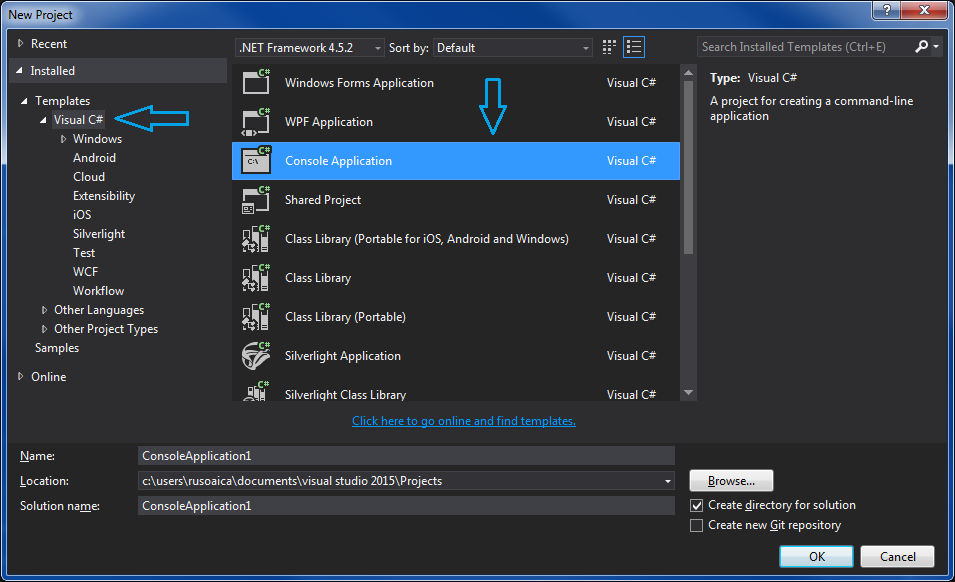
Once you do that, you will be presented with a window where you can chose the language you want to use for the new project, as well of the kind of program you want to build. For the time being, I won’t go into more details, but you should select “Visual C#” as the language and “Console Application” as the project type. You can also specify a name for the new project, instead of the “ConsoleApplication1” which is the default, and if you want, you can set a new location as the path where the project files will be created. In the tradition of almost any first-project-lesson, i will change the name of my project to “HelloWorld”. Once you are done, click OK.
You should now have something that looks like this:
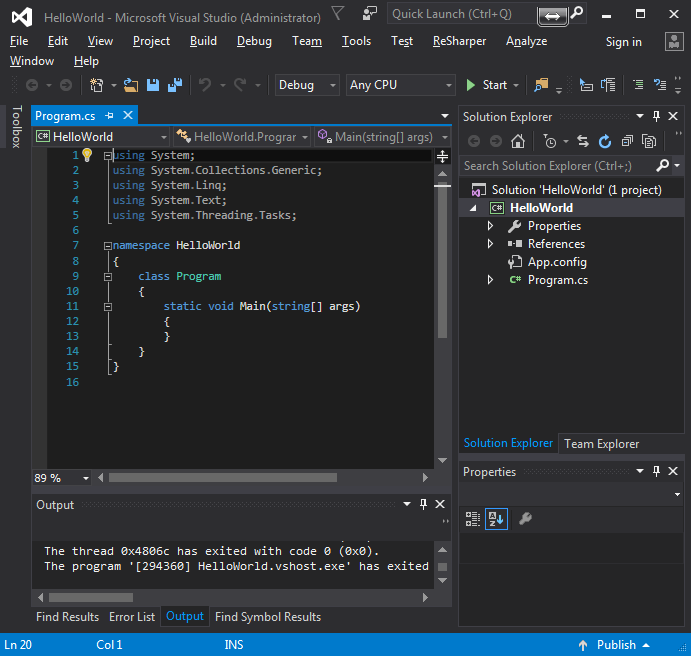
And that is all! You have now created your first program. You don’t need to worry about the codes or the various files that you see in the project for now, we will learn them one by one further on.
The concepts explained in this lesson are also discussed and practically shown in the following video:
Tags: c# console program, console program, introduction to programming

