Important note! This article is now obsolete, a new version of Visual Studio is now available (Visual Studio Community Edition 2017). Read about the installation process of the new version here!
In the last post, I have explained that in order to be able to develop programs, you will need a compiler, and if you’re not directly interested in programming blindly (and trust me, you aren’t!), some form of IDE. The option which we will use its called Visual Studio, it contains anything you need to learn programming and develop applications and yes, it is free! There are a lot of Visual Studio versions out there, most of them paid, but we are only interested in Visual Studio 2015 Community Edition.
To start, open a browser and go to the download page here (the link might modify in the future, in which case just use Google).
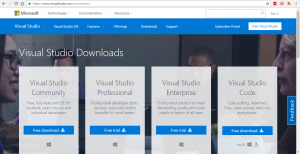
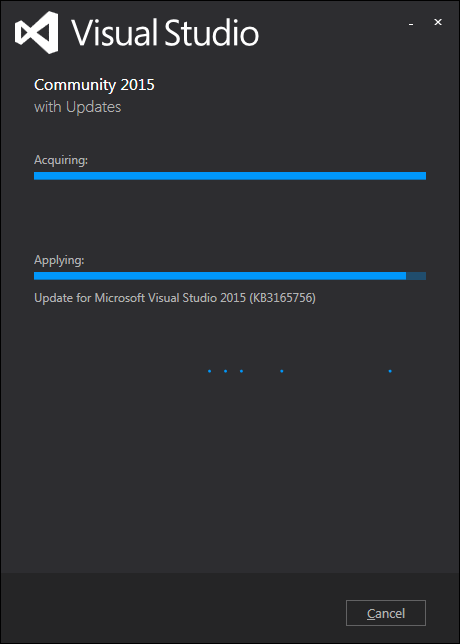
Download “Visual Studio Community”. Run the executable that will download, and you will be presented with a loading screen, which might hang for a while:
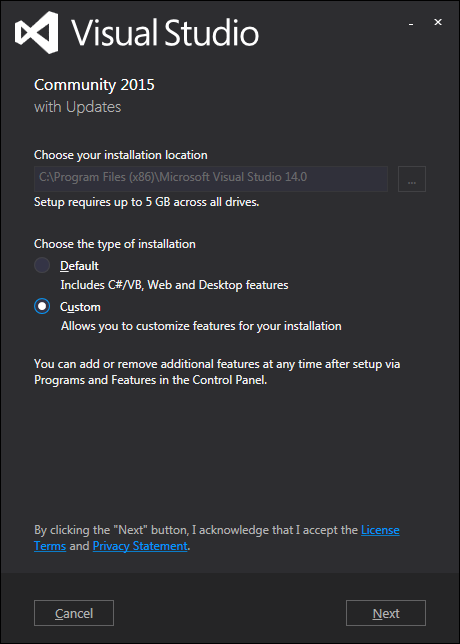
Next, you will be presented with a window where you can specify a different install location. It is also advisable that you chose a custom installation, since you won’t be needing all the components. Besides, the whole installation would require a lot of extra hard drive space.
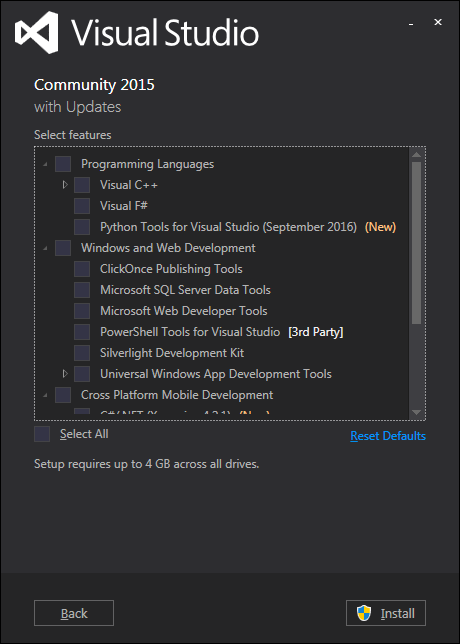
On the next screen, you will be able to select what Visual Studio components you want to install. I recommend selecting NONE, as Visual Studio will install everything you need anyway, and all that you could customize will not be used in these lessons (they will serve an either more advanced or more specific development purpose, for instance, developing applications for Windows 10 Universal Windows App). Unless you do know specifically what you need, deselect everything, and click Next. (note that any component can later be installed, if you change your mind).
Installation should start, and depending on your system, it might take quite a while. Let it run until it completes.
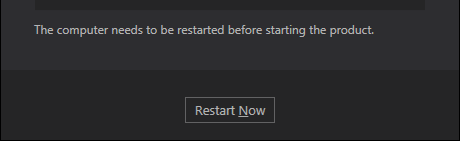
When it completes, it will probably ask you to restart your computer (of course, because Microsoft 😛 )
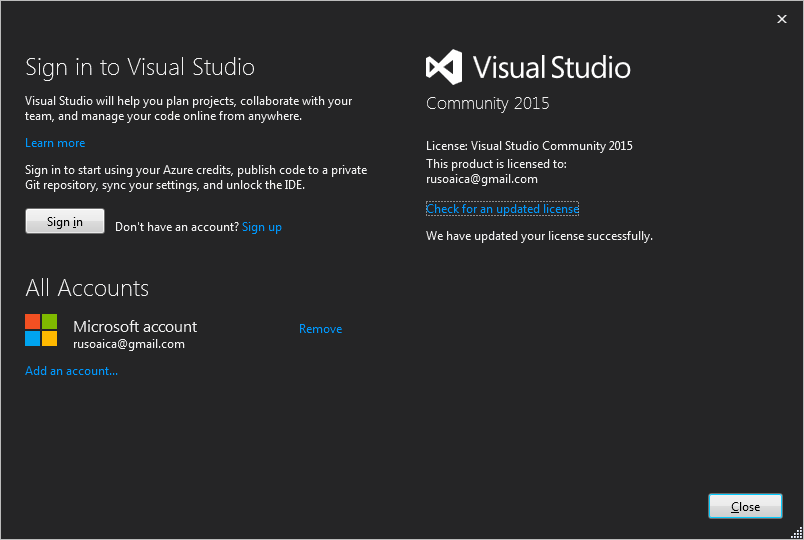
After restart, run your newly installed Visual Studio. When the program starts, you will be asked to sign in using an email account:
Next screen will ask you to select some preferences, like the color scheme and the development settings you will be using most:
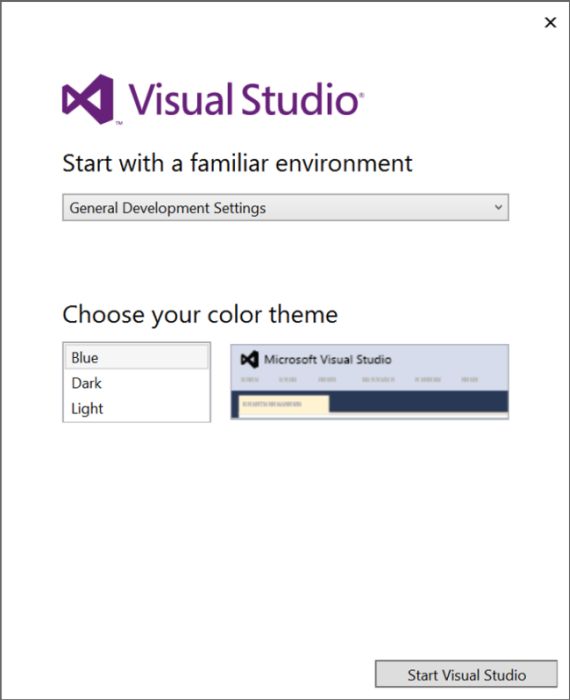
From the drop down list, select “Visual C#”, since that is what we are going to use most often. As for the color scheme, you can chose whatever you like. However, though you may think I’m subjective ’cause I’m a goth, I’d recommend using the Dark color scheme. Your eyes will thank you later!
Aaaand… that’s all, folks! You’ve successfully installed Visual Studio IDE. In the next post we will be creating our first project, and we will finally get to roll our sleeves.

