As explained in this lesson, we will create a new project, but this time we will not be using a console application template, but rather a WPF one, for the purpose of creating a graphical user interface (GUI) program. As explained in the yesterday lesson, there are more than one ways in which we can create GUI programs, but some of them are harder, or obsolete. For this reason, we will be using WPF/XAML, which will allow us to create both simplistic or advanced user interfaces, depending on our tastes or demands.
So, in Visual Studio, click on File – New – Project menu, or press Ctrl + Shift + N. You will be presented with the New Project window, where you have to make sure that on the left side you select Installed – Templates – Visual C#, and on the middle section you select “WPF App (.NET Framework)”, as shown in the image below:

You can also change the name and the location of your new project. When you are done, click OK. For the sake of simplicity, I have named my project “HelloWorldWPF”.
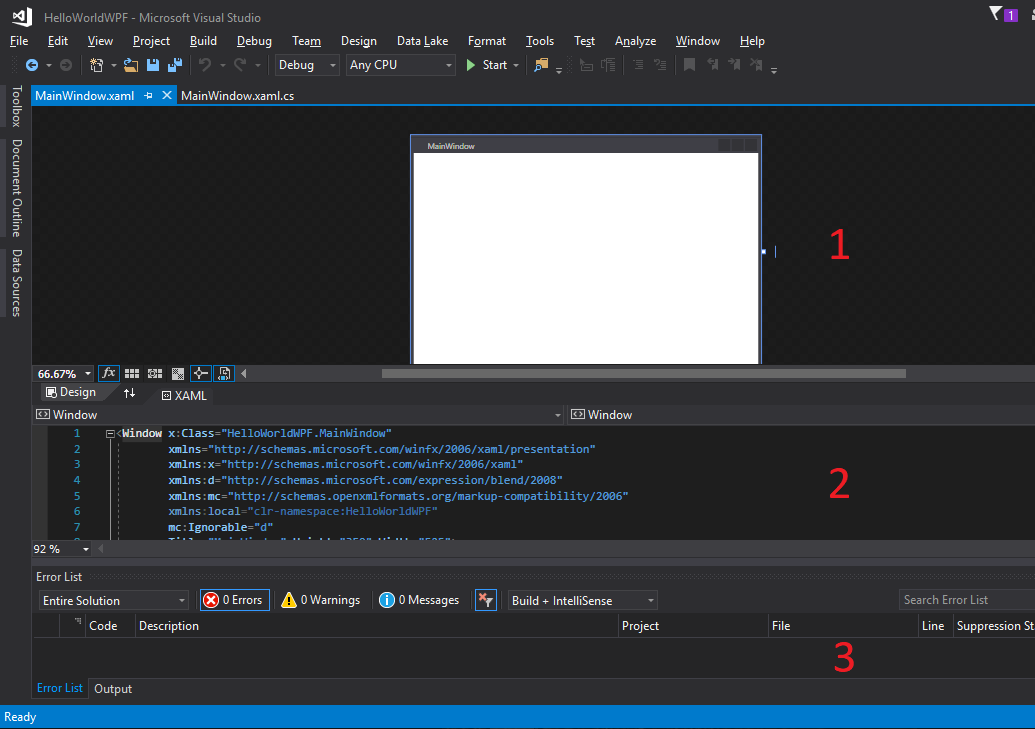
After Visual Studio has created the new project, you will be surprised to see that it looks a bit different than our usual console application. The most noticeable change is the existence of a program window file:
We can even test our new GUI program by clicking on the Start button, or pressing F5 on our keyboard. The output will look like this:

Quite different from our usual console window!
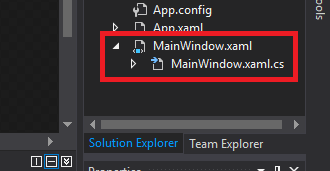
Now, back in Visual Studio, if we will look on the right side, in the Solution Explorer tab, we will notice that our solution has a file named MainWindow.xaml, but on our main window tab, we will have two files opened, with same name but different extensions (MainWindow.xaml and MainWindow.xaml.cs):

The reason for this is that every GUI window of a program must have not only the interface, but also the logic. Therefor, in Solution Explorer, you have only one file, representing the Window. However, this Window file is composed of two files: MainWindow.xaml – which is the visual interface, and MainWindow.xaml.cs – which contains the codes to be executed when we interact with the visual interface. This can be further proven by expanding the MainWindow.xaml file in the Solution Explorer, like in this image:
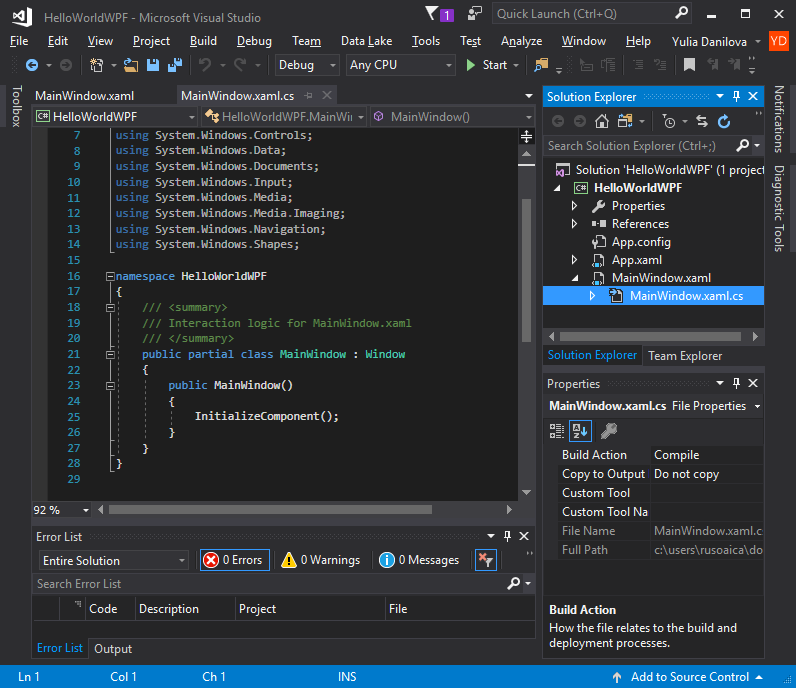
If we will examine the file MainWindow.xaml.cs, we will be pleased to see that it contains codes which we already recognize for the most part: some using directives, a namespace, a class, a constructor, some comments, a method call, etc. We will analyze all of them in greater detail in a future lesson.
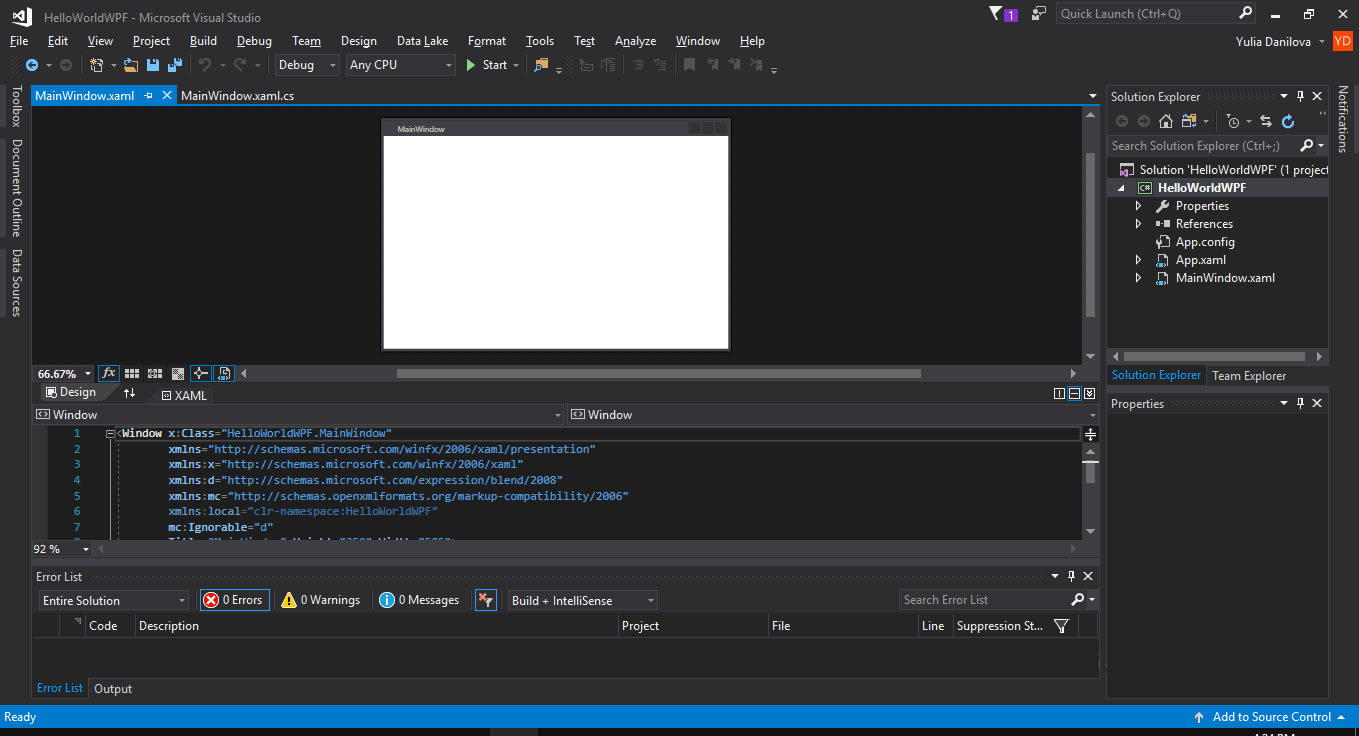
If we return to the MainWindow.xaml file, we will notice that it is composed of three sections:
Section 1 is the place where we visually build our window design, by adding controls through drag and drop (buttons, labels, text fields, images, etc). Section 2 is where we can write XAML codes to manually design our interfaces (or where Visual Studio writes them automatically, if we create our interface by drag and drop). Section 3 is the usual Visual Studio error panel, where we will see errors if we do design mistakes or set invalid parameters to our controls. As with previous section, we will discuss all these new things in greater detail in our future lessons.
Tags: graphical user interface, GUI, WPF, XAML


Will you publish a walk-through on how to convert an existing console application into a new WPF (gui) driven application?
No, I will not post about converting a console application into a GUI one, but I will do something better: describe how to build a GUI program from scratch, step by step. I think there are two more chapters I need to cover first, Error Handling and Debugging. After that, I think there will be enough material to start working on a real program.